Related Posts Plugin for WordPress, Blogger...

Monday, July 8, 2013

Patriotic Ruffled Flag Tee Shirt


 It's a little bit late for a Fourth of July tee shirt tutorial but I figure you can where a patriotic shirt all year long so I am posting anyway.  I have been seeing some adorable flag shirts around and I love the idea of a homemade shirt...ok obviously I love the idea of homemade anything! 

 Look at all that ruffly goodness...ahhh.


She is happy with it and feels extra special that I made it just for her!
I made these shirts just before we headed off for our family reunion camping trip for a few days and right before our friends came to stay the night with us so I was making shirts and cleaning my house and packing so it could be a little bit scatter brained...sorry!

First off we had a shirt from last year from Wal Mart...you know the ones with the year right underneath the flag so everyone knows how old it is..I don't know why they do that?  Anyway I made a heart template out of paper and placed it on my shirt then traced around the template with disappearing marker.


  Cut out your shape, you now have a really weird shirt.

 I had a bit of Pelon laying around, it is a stiff backing fabric you can use for all kinds of projects.  You can find it at most fabric stores.  Trace around your template on to the Pelon but make it about a 1/4" inch bigger than before.

I have been saving up old tee shirts for a while now and was excited to put them to use finally...I was beginning to look like a tee shirt hoarder.  Cut out one inch strips of red white and blue tee shirt fabric and gather, I have a tutorial for this here.

Now lay your gathered pieces across your heart shaped Pelon and pin them down.  Sew them down to the Pelon with matching thread.


Ok this is where I forgot to take a picture luckily Ashley from www.makeit-loveit.com had a similar project.  Pin your ruffle covered pelon to the back of the tee shirt now carefully sew around the edge...I went around twice for good measure.


That's it...enjoy your new ruffled flag shirt!

Tuesday, June 25, 2013

DIY Strider Bike


Last summer some friends of ours had us over and their little boy who was just barely two at the time was zoomin around on a little bike without pedals...I was curious.  They told us all about the strider bike..it helps kids develop balance rather than relying on training wheels and then hopefully they can go right to a pedal bike.  I was skeptical and definitely not willing to fork over the cash for one..then the thought came to me why couldn't I just take the pedals off a regular little bike?  This is where You Tube comes in...


I did mine all by myself fairly quickly and easily..am  I proud of this? umm YES!


  My husband cut off the bolts that stuck out either side of the back tire and sanded them down... little bare legs and bolts are a bad idea.

 He loves his new "bite" (bike) and feels so proud that he can go on the gravel as fast as his big sisters.


  It did take him a little while to get used to the idea but after about a week he is lovin it and has left his little tricycle in the dust...kinda sad for Mom :(


Check out this little guy!


Wednesday, June 19, 2013

Summer Fun and A Blogger Parade of Homes

Summer is soooo busy and soooo much fun we have been partyin it up camping in Montana, where we visited Elk Horn Hot Springs, explored the old Coolidge Ghost Town and our most favorite of all searched for Crystals at Crystal State Park...my kids and I and even my husband loved it, we were addicted!

 If you're near Dillon, Montana I would highly recommend.

Coolidge Ghost Town
 

We found lots and lots of crystals
 

The next week we were off to Naples, Florida where the water felt like a bathtub and the white sand felt like flour ooooh I was in heaven!


I have been sooo busy doing laundry from our galavanting that I have no finished projects to share, but three that are close.  So in the mean time enjoy some of these homes on the blogger home tour I stumbled upon....I love browsing other people's homes...kinda weird. 

Here is one of my favorite's from www.notjustahousewife.net
 summer-home-tour-collage
Here is a full listing of the homes on the tour.

Wednesday, May 29, 2013

Quick and Healthy Dinner/Slow Cooker Mexican Haystacks

I have been keeping pretty busy lately with my usual Mommy stuff...dishes, sweeping, mopping, vacuuming, etc. you know the drill!  My little girl has been in preschool the last couple months only for a couple of hours a day, so it has been a lot of running for us.

This was my first experience with preschool, my little girl loved it!  She learned a lot and so did I...like don't turn around in the driver's seat while parked to give something to your child and accidentally honk the horn with your butt...yes there were other parents in the parking lot that looked over to see who was honking the horn...I just avoided eye contact sheepishly!  Number two, don't chuckle and make a comment to another parent as your child walks to the wrong vehicle, cause maybe you're walking to the wrong vehicle!

We are all done now and excited for some summer fun!

With the busy schedule that summertime/motherhood brings I thought it would be helpful to compile a quick and healthy dinner list. We made this last night and it was a hit, of course you can change it around to your liking.

You can find the recipe at www.sixsistersstuff.com , we just changed it up a little by trading the olives for avocados and cooked our chicken in a pan cause sometimes I don't plan ahead...but it was still delish!

Wednesday, May 22, 2013

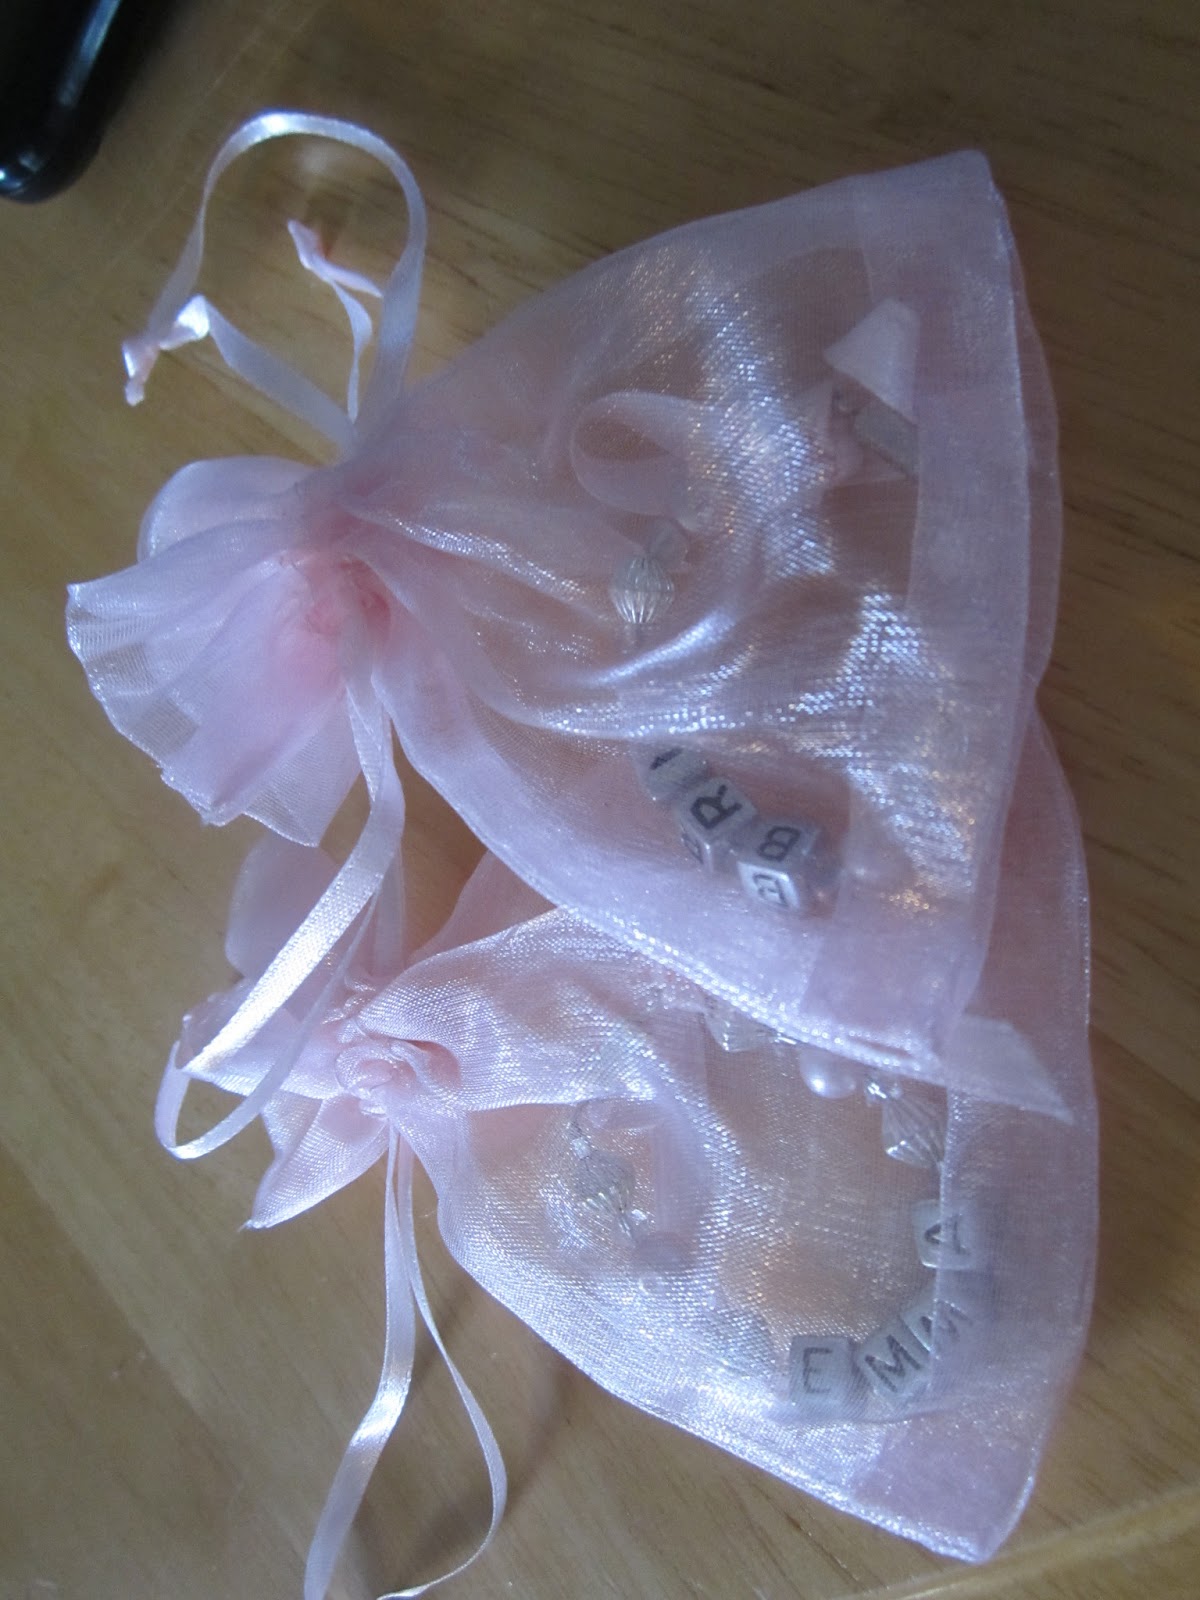
Beaded Baby Bracelet Tutorial/Sizing Chart

With brand new identical twins I thought personalized bracelets might come in handy, especially in the beginning when you still can't tell which one is which.  My brother said he couldn't tell who was who, so  he was just going to mark them with sharpie marker...that might work for boys but we girls are a little more sophisticated than that!


And if you're in need of  a matching beaded binky clip check out my last post here.

I have had this sizing chart hanging around for a while, I don't know where I found it but the sizes seem to be right on.  This comes in handy if you're making them as a gift and don't have the child with you.

Sizing Guide
 
Infant 0-3 mos.- 4"
3-12  mos.- 4 1/2"
Toddler 1-4 yrs.-5"
Child 4-8 yrs.-5 1/2"
Child 9-13 yrs.- 6 1/2"

Tutorial

You will need:
Wire cutters
Needle Nose Pliers
3mm. Wire
Beads of various sizes
Crimping Beads
Clasp
Start by cutting off the right amount of wire add an extra 3" just to be safe,  I use 3mm wire.   Now thread on your crimping bead and one end of your clasp.


Run the wire back down through the crimping bead

Push the crimping bead up snug to the clasp and crimp it down with the needle nose pliers.

Thread on beads in whatever pattern you please or have your little girl pick the pattern cause she's better at it.

Finish the same way you started by threading on a crimping bead and the other end of your clasp and feed the wire back down through the crimping bead and down through a few of the beads making it nice and snug. Crimp down your crimping bead and trim off excess wire as close as you can to the beads so the wire doesn't poke out.


That's it!

You can add a little ribbon, throw them in a little satchel and they're ready to be gifted.


Tuesday, May 14, 2013

Beaded Binky Clip Tutorial

Let me just start by saying crafting for twin baby girls has been so much fun.  I am a bit of a girly girl...I like all shades of pink, little girl dresses, bows...so when you take all of that and times it by two it's just over the top cute!


 You will need 

seed beads
.45 mm or 3 mm wire
clips
crimping beads
beads of various sizes
lobster clasp and jump ring(if attaching to a newborn binky)
wire cutters 
needle nose pliers 

Start by cutting two feet of your wire then string on about 12-15 seed beads(the tiny ones)


Don't forget to thread on your clip like I did in this image. Now thread both ends of your wire into a crimping bead.


Cinch it up tight and crimp your crimping bead down flat with the needle nose pliers.

Figure out what arrangement of beads you like and start threading them on to both wires.

Once you get it to the length you like thread a crimping bead and a jump ring onto one of the wires.


Now thread your wire back down through your crimping bead and into your other beads as far as you can, making sure it is nice and snug but leaving enough room for your jump ring to have some wiggle room. 

Now trim this extra wire that is hanging out as close as you can to the bead so it won't poke out.
 

 After you trim your excess wire that didn't get fed back through the beads you should have something that looks similar to this.


 Now thread about 15 to 20 seed beads onto the other wire and end with a crimping bead and lobster clasp.  Now thread the wire back down through the crimping bead and through the other beads like you did before.  Crimp the crimping bead down with needle nose pliers and trim excess wire and you're done!


Enjoy your new binky clip!

Wednesday, May 8, 2013

Fancy Cardboard House

The weather this spring has been less than ideal...it has been pretty awful!  My kids and I needed some inside stuff to keep us busy while the wind was blowing 100 miles an hour for about 3 weeks argh.
We recently bought a new stove and used the huge box to make a cardboard house which the kids really enjoyed. When I stumbled upon A Girl And A Glue Guns post about painting a cardboard house and making it stinkin cute...I first thought who would spend that much time on a cardboard house?  Then I saw the bucket of yellow paint we never used and our little plain cardboard house already built...so I guess I am someone who would spend that much time on a cardboard house!


We added some cardboard shingles and painted them pink
 

The kids had fun helping me paint cereal boxes for window boxes

And we used a hot chocolate box for a mail box

We just trimmed them down to the size we wanted and painted away

More cardboard for paned windows and baby blue shutters

I think the kids favorite part was filling the window boxes up with Popsicle stick flowers.

And of course every house needs a mailbox especially a pink polka dot mailbox

Peek a boo door with pink trim

This was a really fun project for the kids and I to do together and great for those really hot days to keep the sun off their little faces a bit.

linking up here
Craft-O-Maniac
making The World Cuter
01 02