
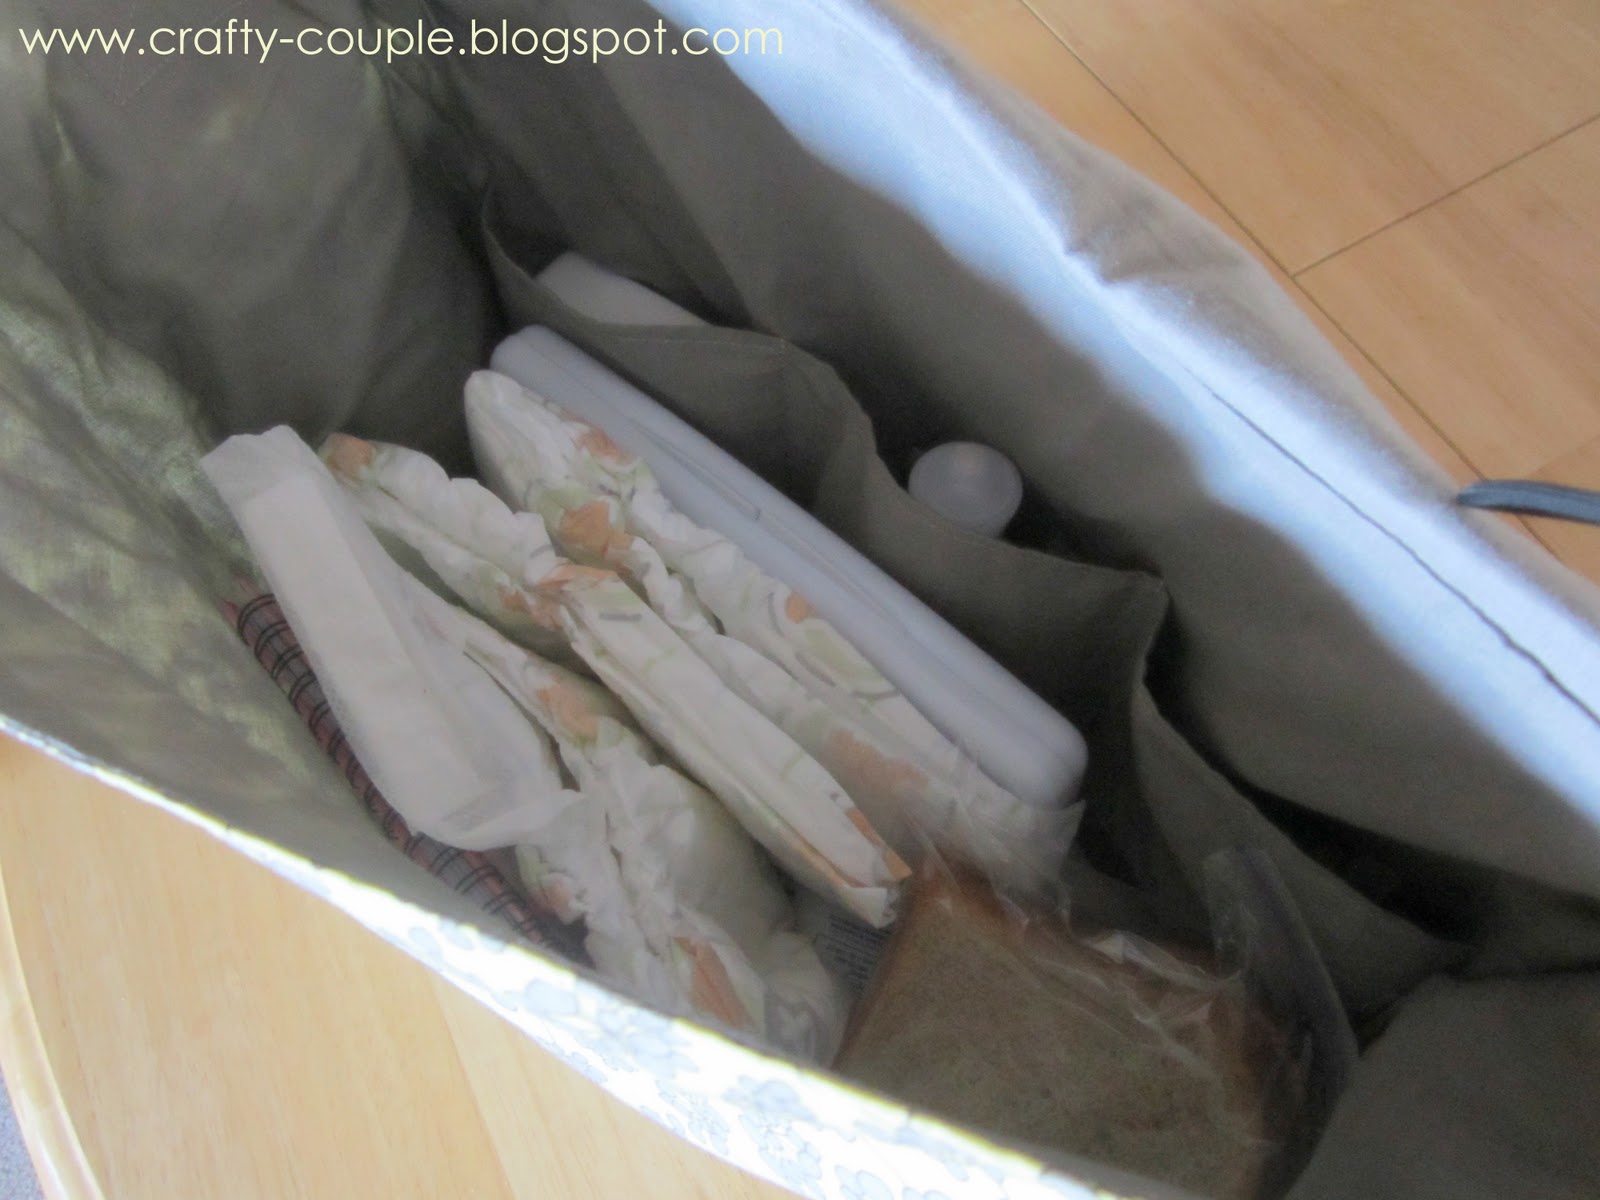
Side pockets for sippy cups and bottles

Back Pocket

Pockets, pockets and more pockets!
(I like a lot of pockets)
If you're interested in making your own click on read more.
Fabric
1 1/4 yards exterior fabric
1 1/4 yards fusible interface
1 yard lining fabric
1 1/4 yards exterior fabric
1 1/4 yards fusible interface
1 yard lining fabric
Cut Your Pieces
Strap- 37" by 3" Cut 1 lining, cut 1 ext. fabric with interface
Side panels- 6" by 11 1/2" Cut 2 lining and 2 ext. fabric with interface
Side Panel Pockets- 6" by 8" Cut 2 lining and 2 ext. fabric with interface
Bottom- 6" by 15" Cut 1 lining and 1 ext. fabric with interface
Sides/Front/Flap- 15" by 11 1/2" Cut 3 lining and 3 ext. fabric with interface
Interior pockets- 15" by 6" Cut 1 lining and 1 lining with interface
Back Pocket 15" by 9" Cut 1 lining and 1 ext. fabric with interface
Your pieces should look something like this: 2 side panels with pockets, 1 bottom, 1 plain side and 1 side with pocket.

And your lining pieces: 1 bottom, 2 side panels, 1 plain side and 1 side with pockets.

Set those pieces aside and start on your strap you should have 1 lining and 1 fabric with interface. Place right sides together and sew on either side with a 1/4" seam allowance, turn right side out and iron, turn raw edges under and iron.

Now topstitch just along the edge of the sides to give it a nice finished look.

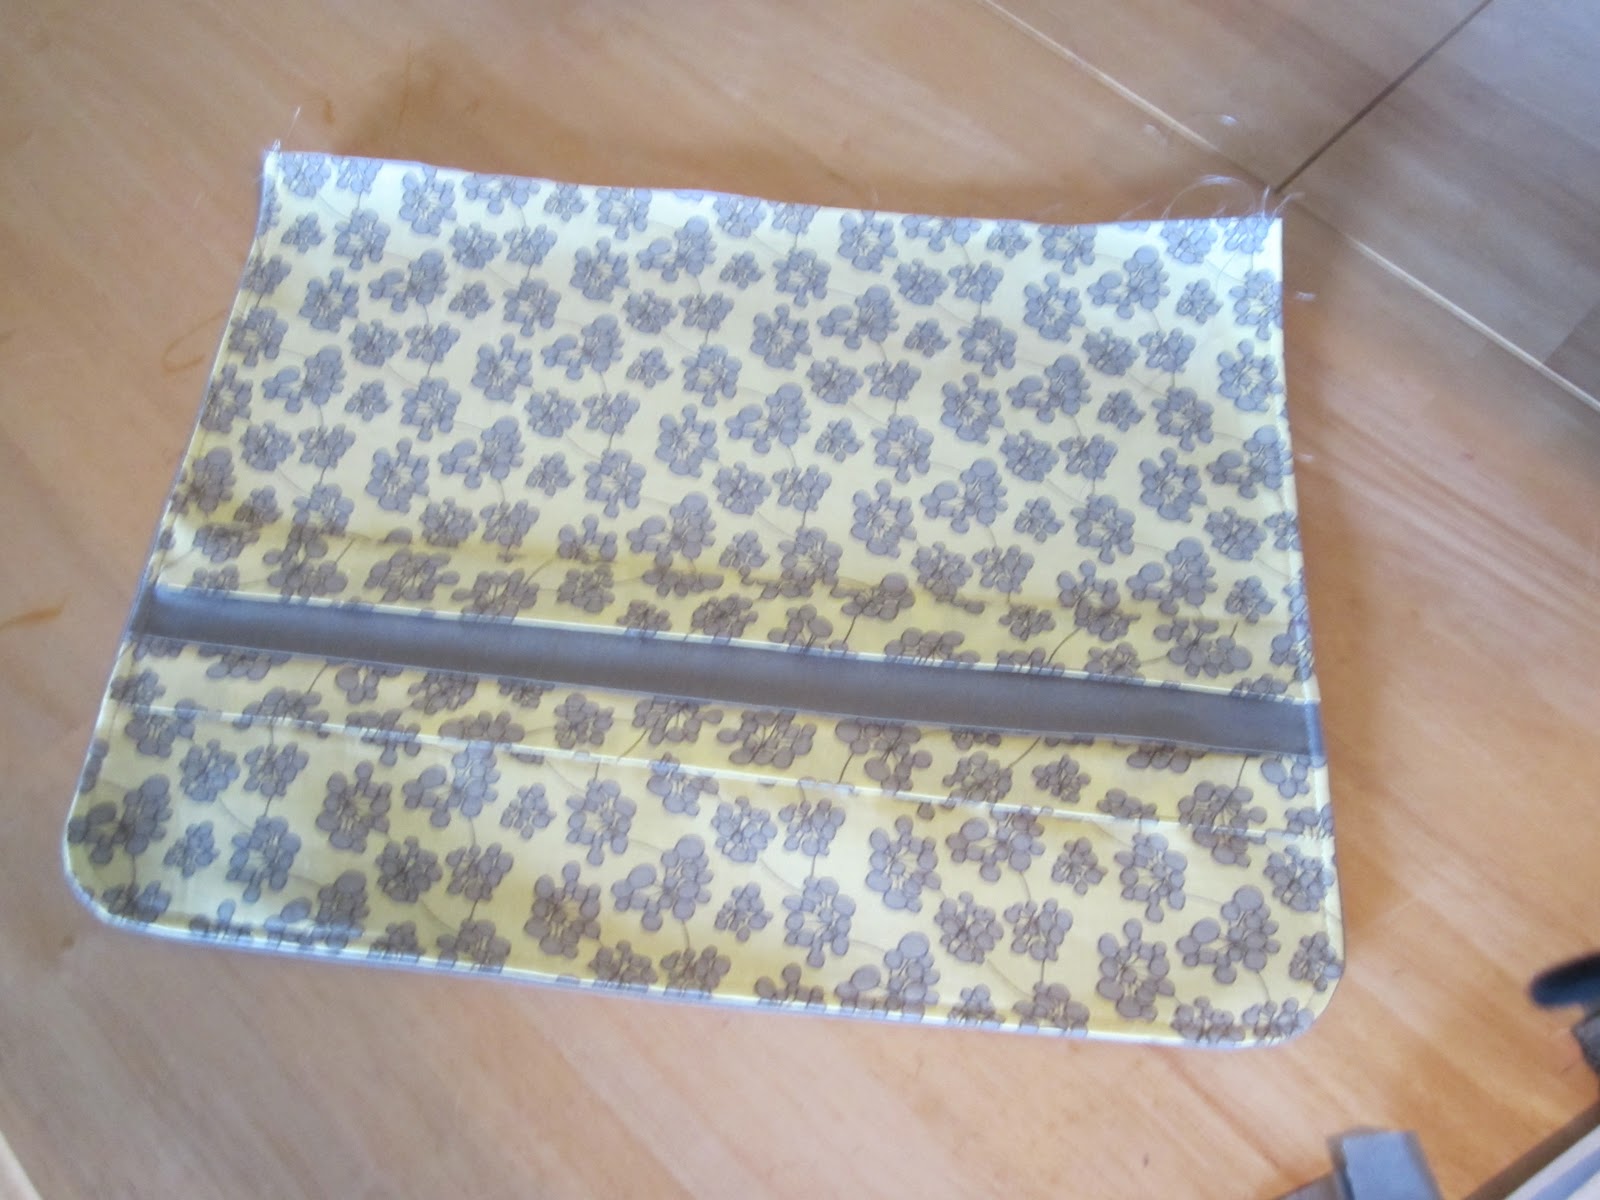
Now to sew the front flap, I wanted mine to have rounded edges so I used a cup to trace and cut off the corners on the bottom edge. Add any decorative pieces you might want (ribbon, bows, pockets) I added three strips of fabric. Then place lining and ext. fabric right sides together and sew, turn and iron.
For help with making pockets scroll to the bottom of the tutorial.
Now you're ready to sew your bag together
Start by sewing your side panels to the bottom

Now sew your sides to what you just sewed, this is the trickiest part and I don't have any great suggestions on how to do it just do your best. And I forgot to take a picture of mine but this what it should look like.
Make sure to leave an opening at the bottom for turning.

Now do the same with the exterior fabric pieces, these are alot easier to work with because they are stiffer.

Now pin on your flap

I got so excited that I was almost done that I forgot to take a picture of this step but it will look something like this. Keep your lining bag inside out and place the exterior bag inside, pin the top edge and sew. Turn right side out through the hole in the bottom of the lining. Sew up the hole in the bottom of lining and push lining down inside of bag. Press.

Now top stitch arond the upper edge of bag, this holds things in place and gives it a nice finished edge.

Sew on straps

And you're finished!
I would suggest using some sort of vinyl on the inside to give the bag a little more shape and it would also be wipeable.
Pockets


